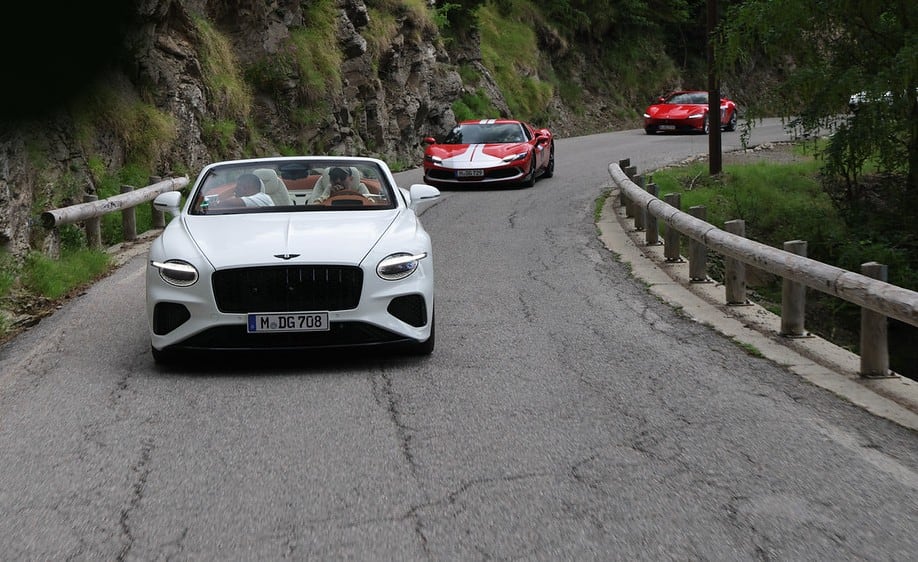
Most driving-tour photos look the same: a car, parked, in the middle of the day, with flat light and a driver squinting into the sun. A few small changes make a real difference.
Timing matters more than gear
The single biggest factor in how a car photo actually looks isn’t the camera — it’s the light. Midday sun is harsh and directly overhead, flattening a car’s body lines and washing out whatever mountain or coastal backdrop is behind it. The golden hour windows around sunrise and sunset do most of the work for you: low, warm, angled light that brings out contour and paint depth a midday shot simply can’t match. If a specific stop on your itinerary happens to fall near one of those windows, that’s the one worth prioritizing.
Composition: get low, and don’t center everything
A car photographed from standing height, dead center in the frame, is the default most people fall into without thinking about it. Crouching down to shoot from closer to wheel height makes a car look faster and lower even parked, and placing it off-center with the road or landscape given real room in the frame usually reads better than a car filling the entire shot. Include some of the road itself where you can — a car with no visible road context loses the sense of place that makes a driving-tour photo different from a dealership shot.
Getting the rolling shot without holding up the group
Action shots — the car actually moving, not parked — are what most people actually want from a driving tour, and they’re also the easiest to get wrong by improvising mid-drive. The fix is coordination, not spontaneity: mention to your guide before a scenic stretch that you’d like a rolling shot, and a planned 90-second pull-off takes seconds to organize when everyone already knows it’s coming. Trying to arrange the same shot mid-convoy, unplanned, usually costs several confused minutes and rarely gets the composition right anyway.
Let the app do the sorting afterward
This is worth mentioning here specifically: DRV.club’s trip journal automatically places photos taken through the app at the exact point on your mapped route where they were shot — no manual sorting, no trying to remember which hairpin a specific shot came from six months later. Shoot with your regular camera if you prefer the results, but the app handles the organizational side either way.
Every Pure Adrenalin route offers real opportunities for this kind of shot — see the routes and plan a couple of coordinated stops into your own trip.